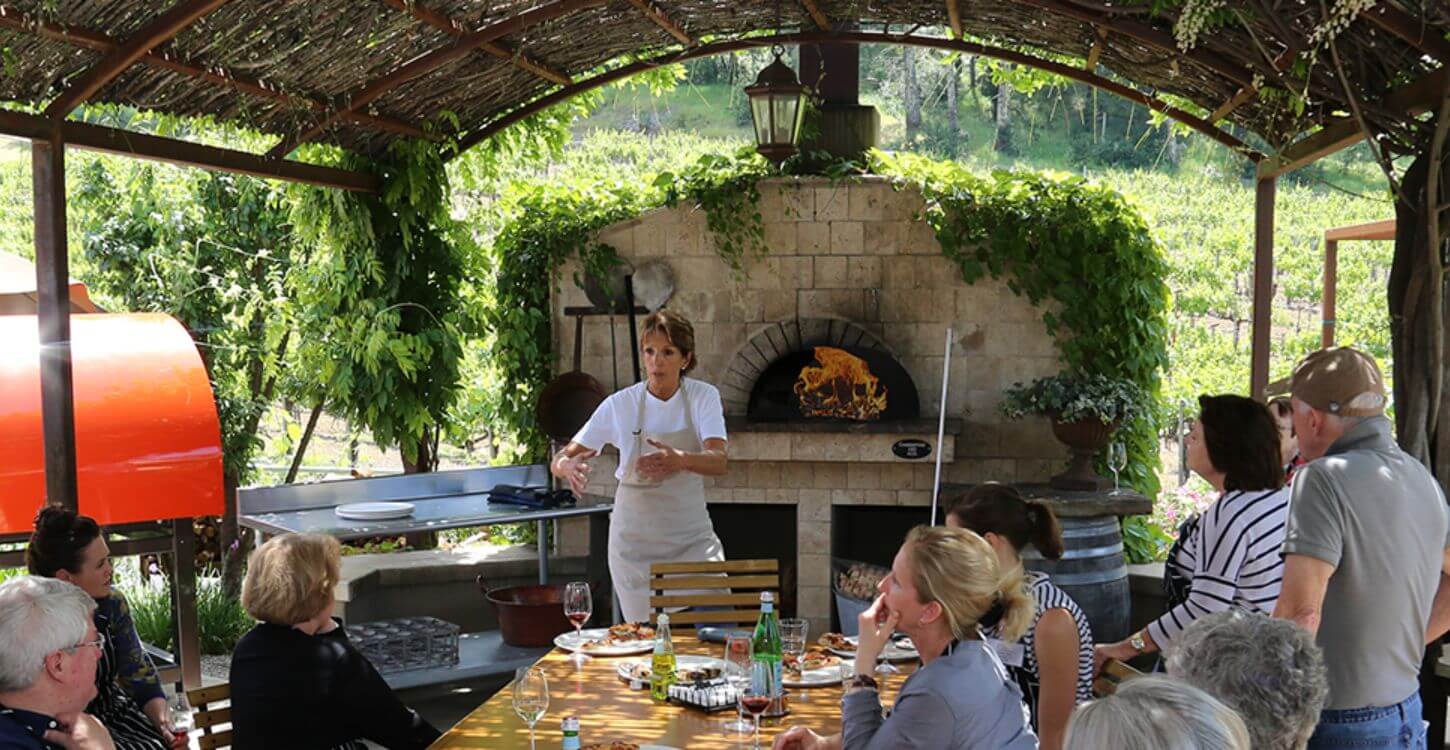
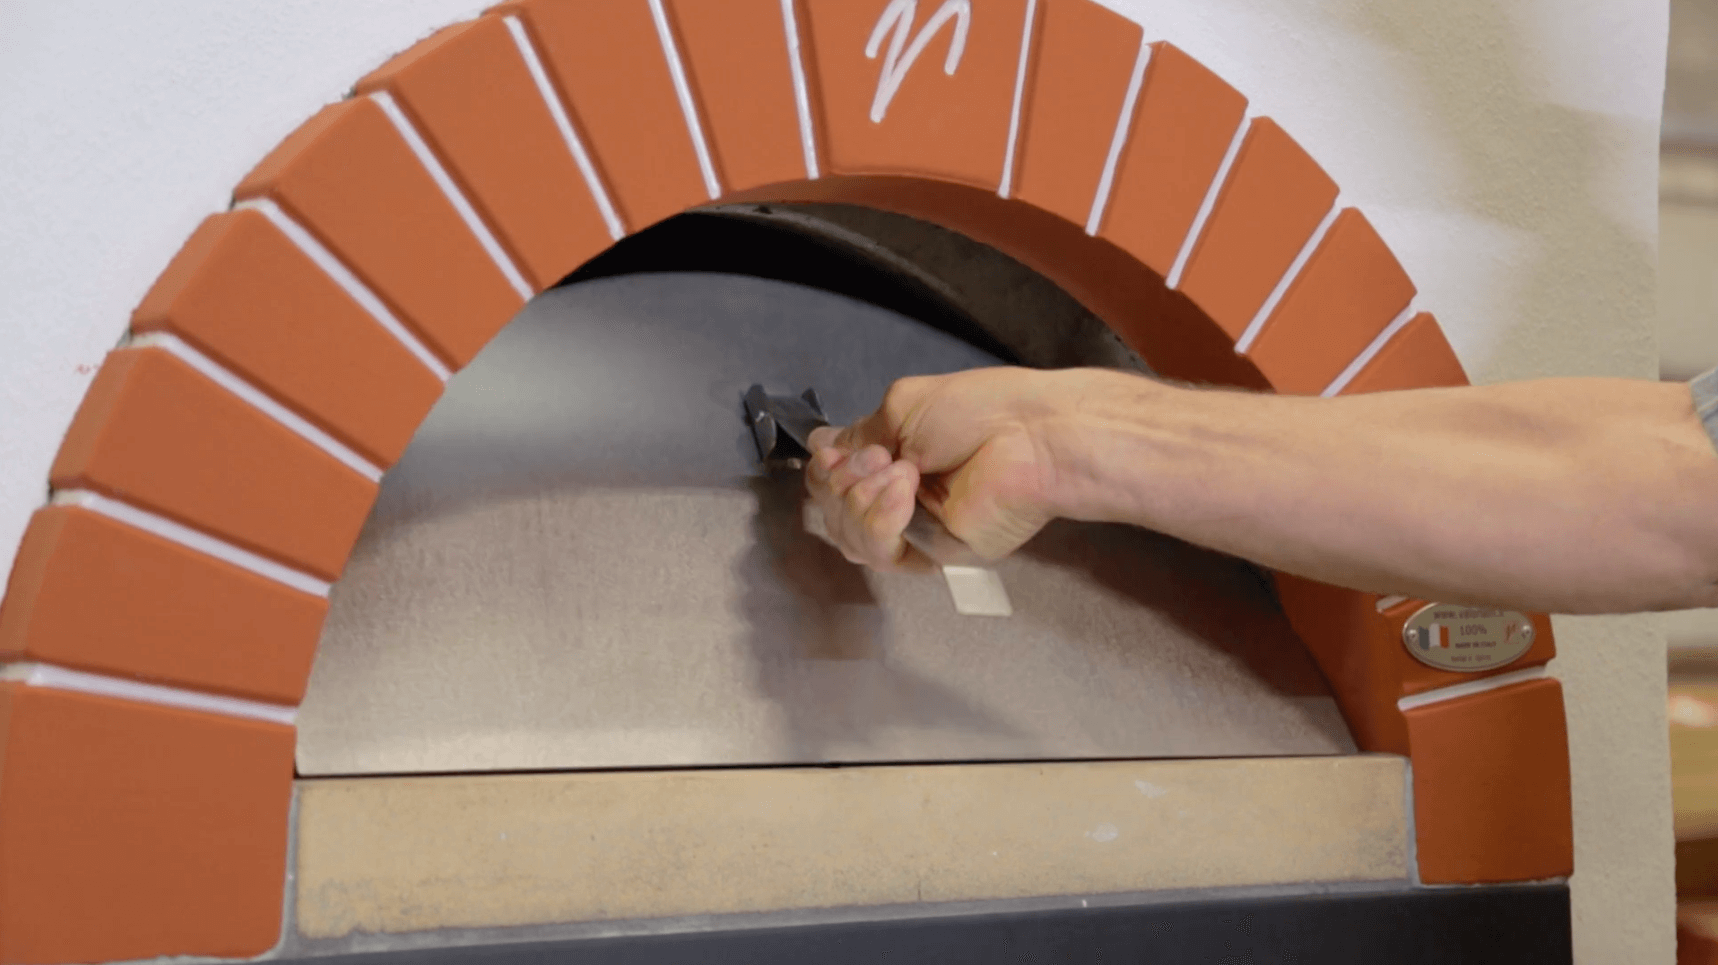
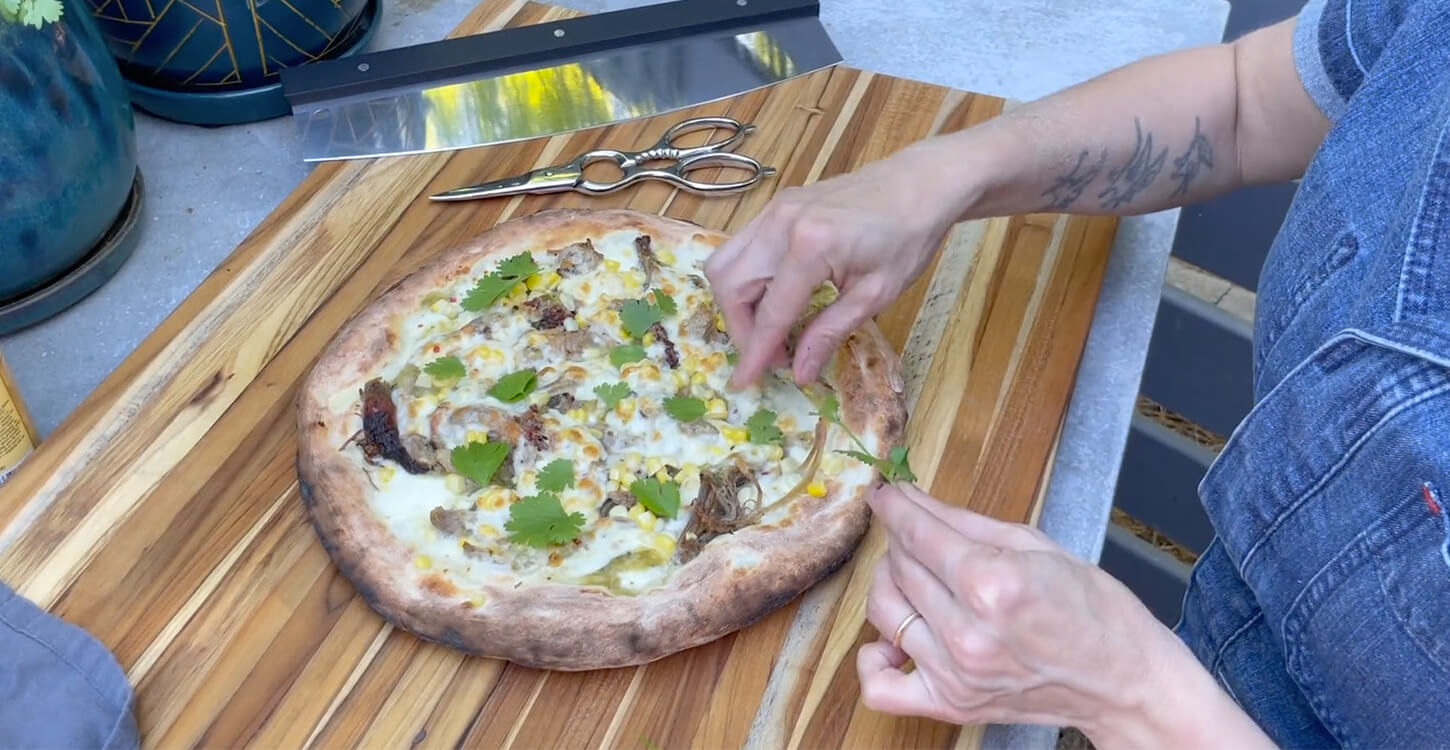
Mugnaini.com

Firing Your Oven

Tools of the trade:

  • Weber Firestarters™
  • Hardwood kindling
  • Double split seasoned hardwood

Step one: The Center Burn

  1. Place 2-3 Firestarter™ cubes on the oven floor between two good-sized pieces of kindling placed lengthwise in the oven and light the fire starters with a match.

  2. Place a handful of kindling across (perpendicular to) the first two pieces of kindling.

  3. Place two hardwood logs across the kindling pile and top with one or two more hardwood logs. Remember to maintain the crossing pattern so that the air can circulate through the wood.

  4. Push the woodpile deep into the oven with your long handled peel. The fire should be just back of the center of the oven. The flames should hit the top of the dome and cascade to the sides.

  5. Let this fire burn for approximately 20 minutes, adding several more pieces of wood to keep a large rolling flame going. Your goal is to introduce an appropriate amount of heat into the oven and establish some red-hot coals. You need to burn wood in this manner until you see a small circle directly above the fire that is no longer black (carbon build up from the fire). This “white spot” is your indicator that it is time to move on to the next step.

Step two: The Perimeter Burn

  1. Using your long handled metal peel push the fire (burning log and red hot coals) back around the circumference of the oven. The goal is to line 2/3 of the perimeter of the oven floor with fire.

  2. At this point, decide which side of the oven you want your pizza or roasting pans to be placed and begin heating that side of the oven first.

  3. Starting on the side of the oven that will be your cooking area, add kindling and more wood to the already ignited logs around the oven perimeter. Most ovens will require three to four pieces of wood to cover 2/3 of the oven. Elevate the wood by overlapping the logs, one on top of the other. You may need to add another Firestarter™ as well if you have lost the live flame.

  4. At this point place the oven door on the shelf in front of the arch at an angle with one side open approximately 4 inches. This will block any wind and keep the smoke from rolling out until the oven is up to temperature. The flames should fill the dome and almost reach from one side of the oven to the other. This is called a preheat flame.

  5. Repeat this process a second time using 3-4 additional pieces of wood if you started from a cold oven.

  6. Let this fire burn continuously until that side of the oven is void of any black. This will take 30 - 40 minutes depending upon conditions. The opposite side of the oven will still be black.

Step three: Banking the Fire

  1. Using your metal peel push just the logs to the black side of the oven and spread the red-hot coals evenly across the floor. These coals will drive heat deep into the firebrick floor while the fire burns off the remaining black on the dome. Add more kindling and fire starters if necessary to the ignited logs to maintain the large preheat flame. This will take about 10 minutes but allow it to burn longer if you are planning to cook for several hours.

  2. Next use the metal peel to move all the coals from the center of the oven to join the rest of the fire bed. This will be your cooking fire. You will maintain this coal bed and fire by adding wood as you cook to maintain the desired flame.

  3. Now, sweep the floor clean with the brass brush. If necessary, wrap a damp cloth around the brush to help clean the floor. The finished result will be an oven with a dome void of any black carbon, a big bed of red-hot coals, and a live flame reaching up to the middle of the oven.

You are now ready to cook!

© 2009 Mugnaini, Inc. ™ All rights reserved. Website managed by IT Balance